Creating A Character
Base
Every Character starts with a Base, Be sure to choose carefully and consistently for your characters and projects. Here are the list of bases provided by default:
- Antonia:
Creative Commons Attribution (CC-BY)
- MB-Lab:
GNU Affero General Public License (AGPL)
- Reom:
Creative Commons Attribution (CC-BY)
- Vitruvian:
Creative Commons Zero (CC0)
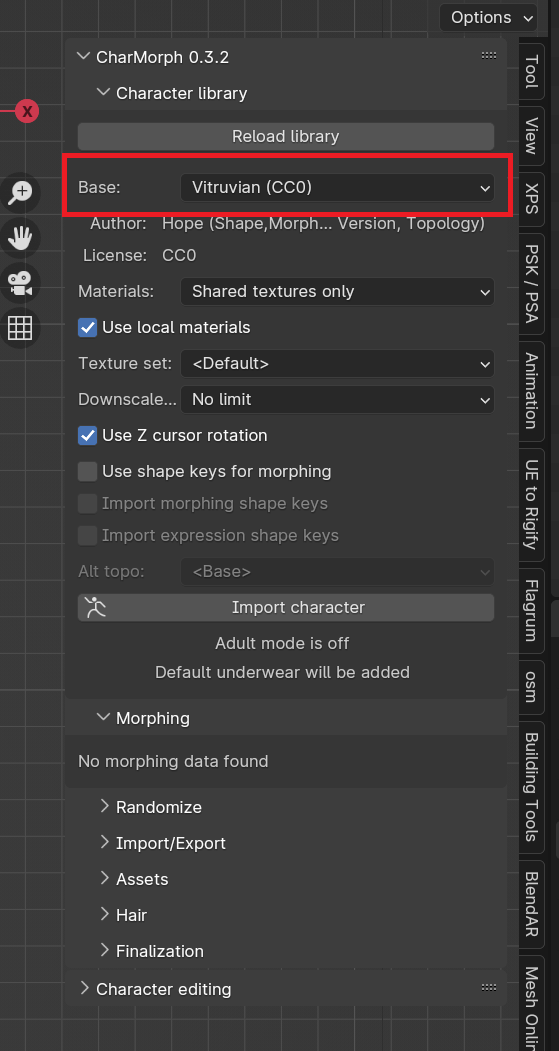
Once you have chosen a character you will need to import the character to your scene to start changing it.
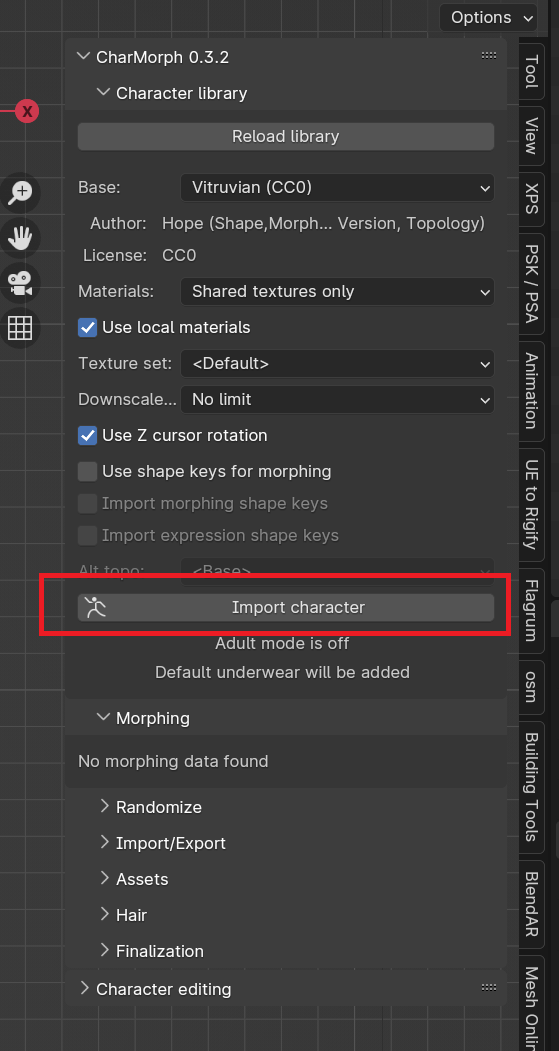
Select Import Character
Morphing
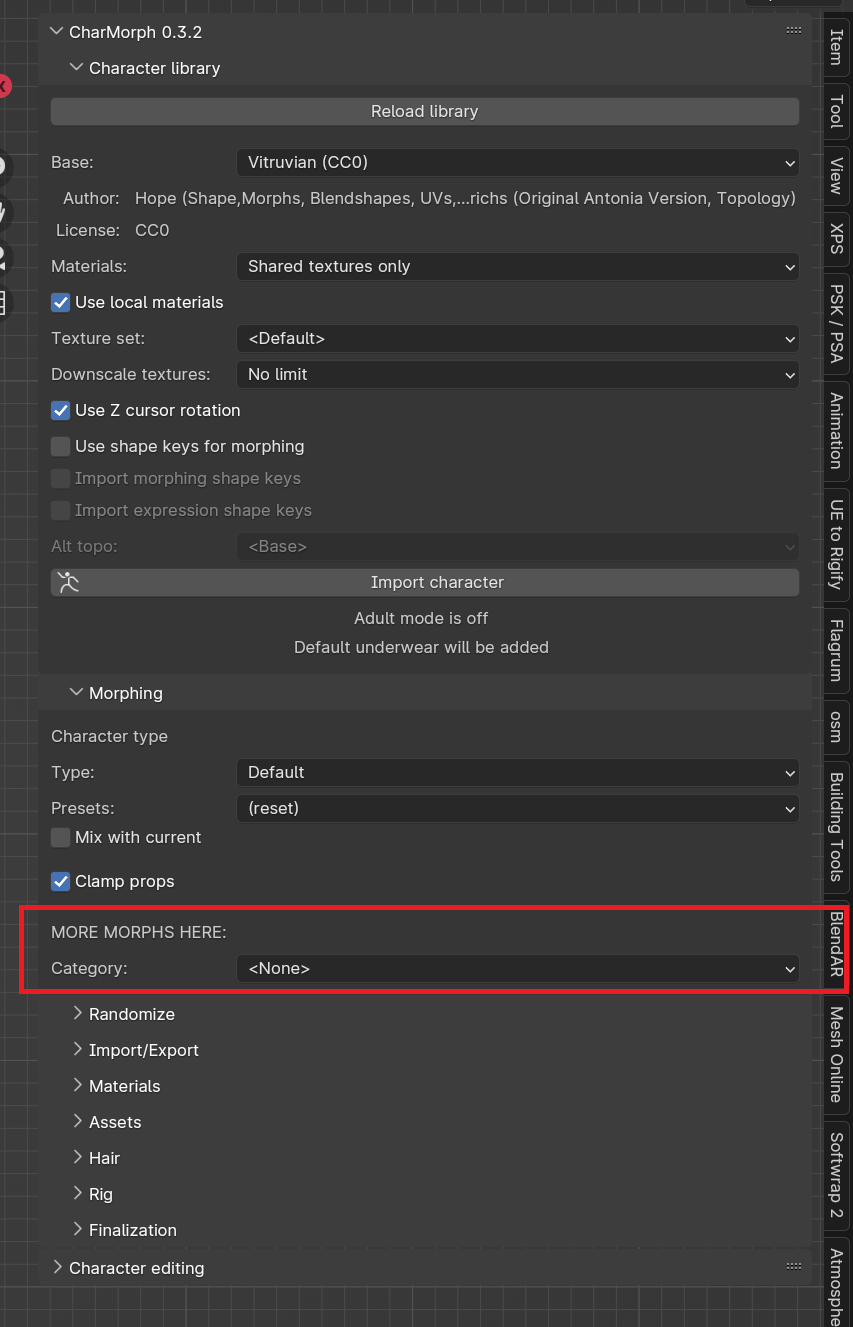
This is where you will be doing most of the work in Charmorph. Every Base has dozens upon dozens of potential variation
Finalization
Finalization is a neccesary step to complete a character, After finalization, morphs will be lost and the character if chosen will be rigged.
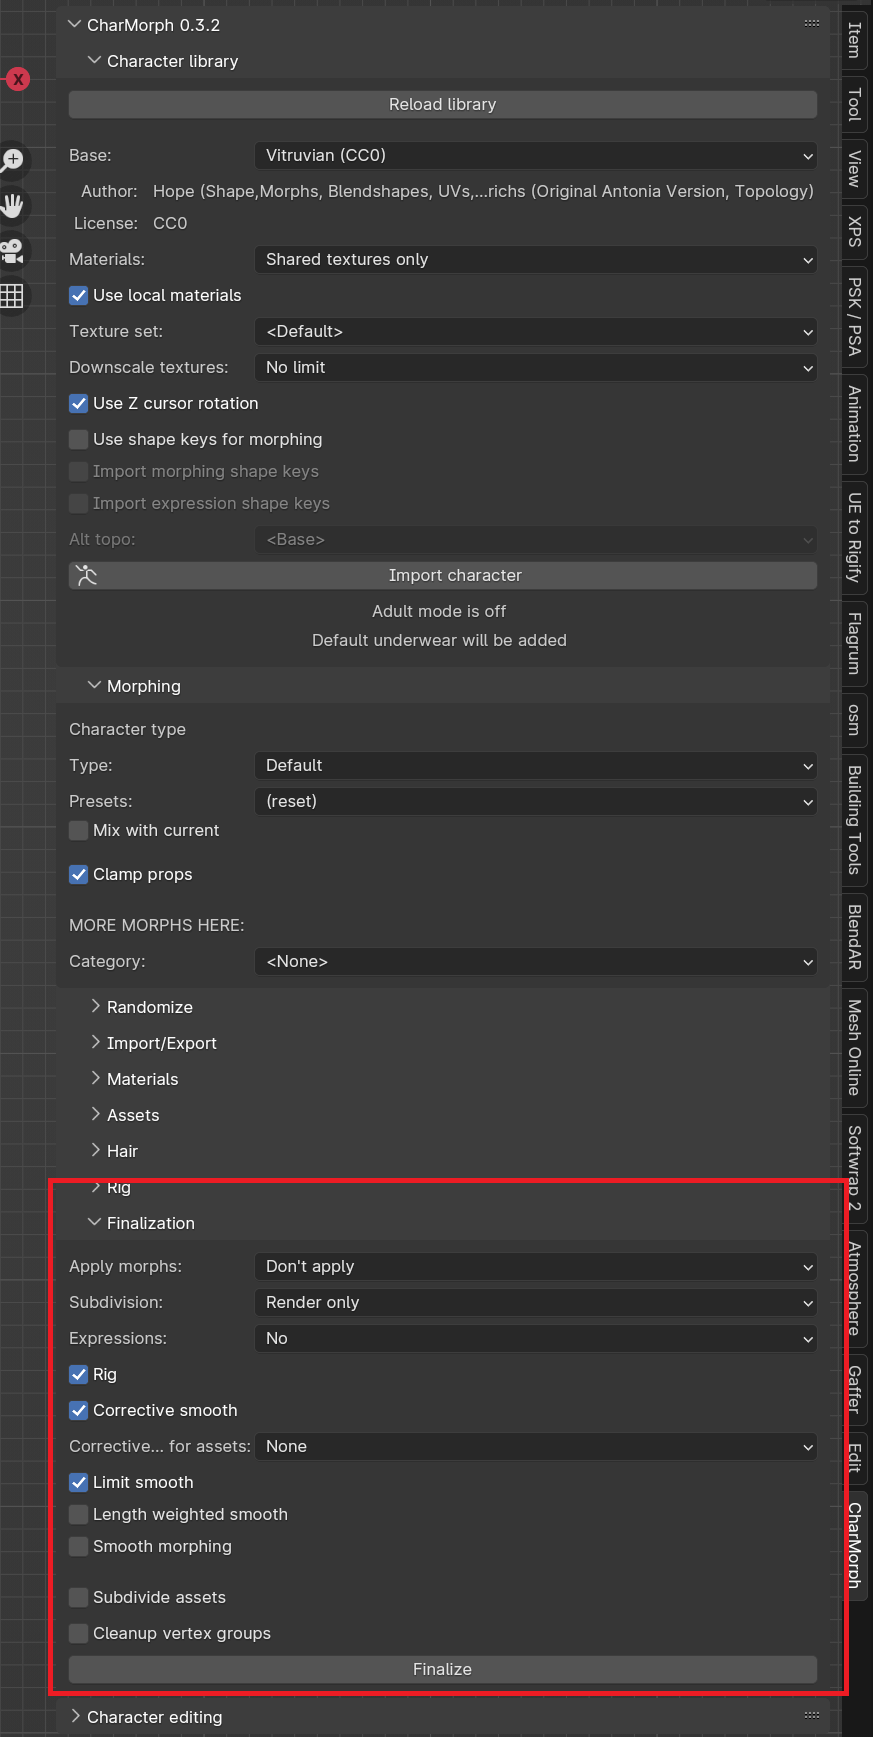
- Apply Morphs:
Change Shapekey Settings
- Rig:
Selects Rig from List
- Subdivision:
Applies Subdivision Surface Settings
- Corrective Smooth:
Applies Corrective Smooth Modifier, this fixes deformations such as arm and knee bending
Select Finalize
Introduction to Alt-Topo
Depending on your needs for a given project, you will be unsatisfied with a given character’s topology, either it is too high or too low, has the wrong edge flow or a multitude of other problems. Charmorph has a solution called Alternative Topology or Alt Topo for short. Alt Topo allows users to retarget a given Charmorph character onto any topology, no matter how arbitrary. It can range from a high poly voxel remesh to the default cube.
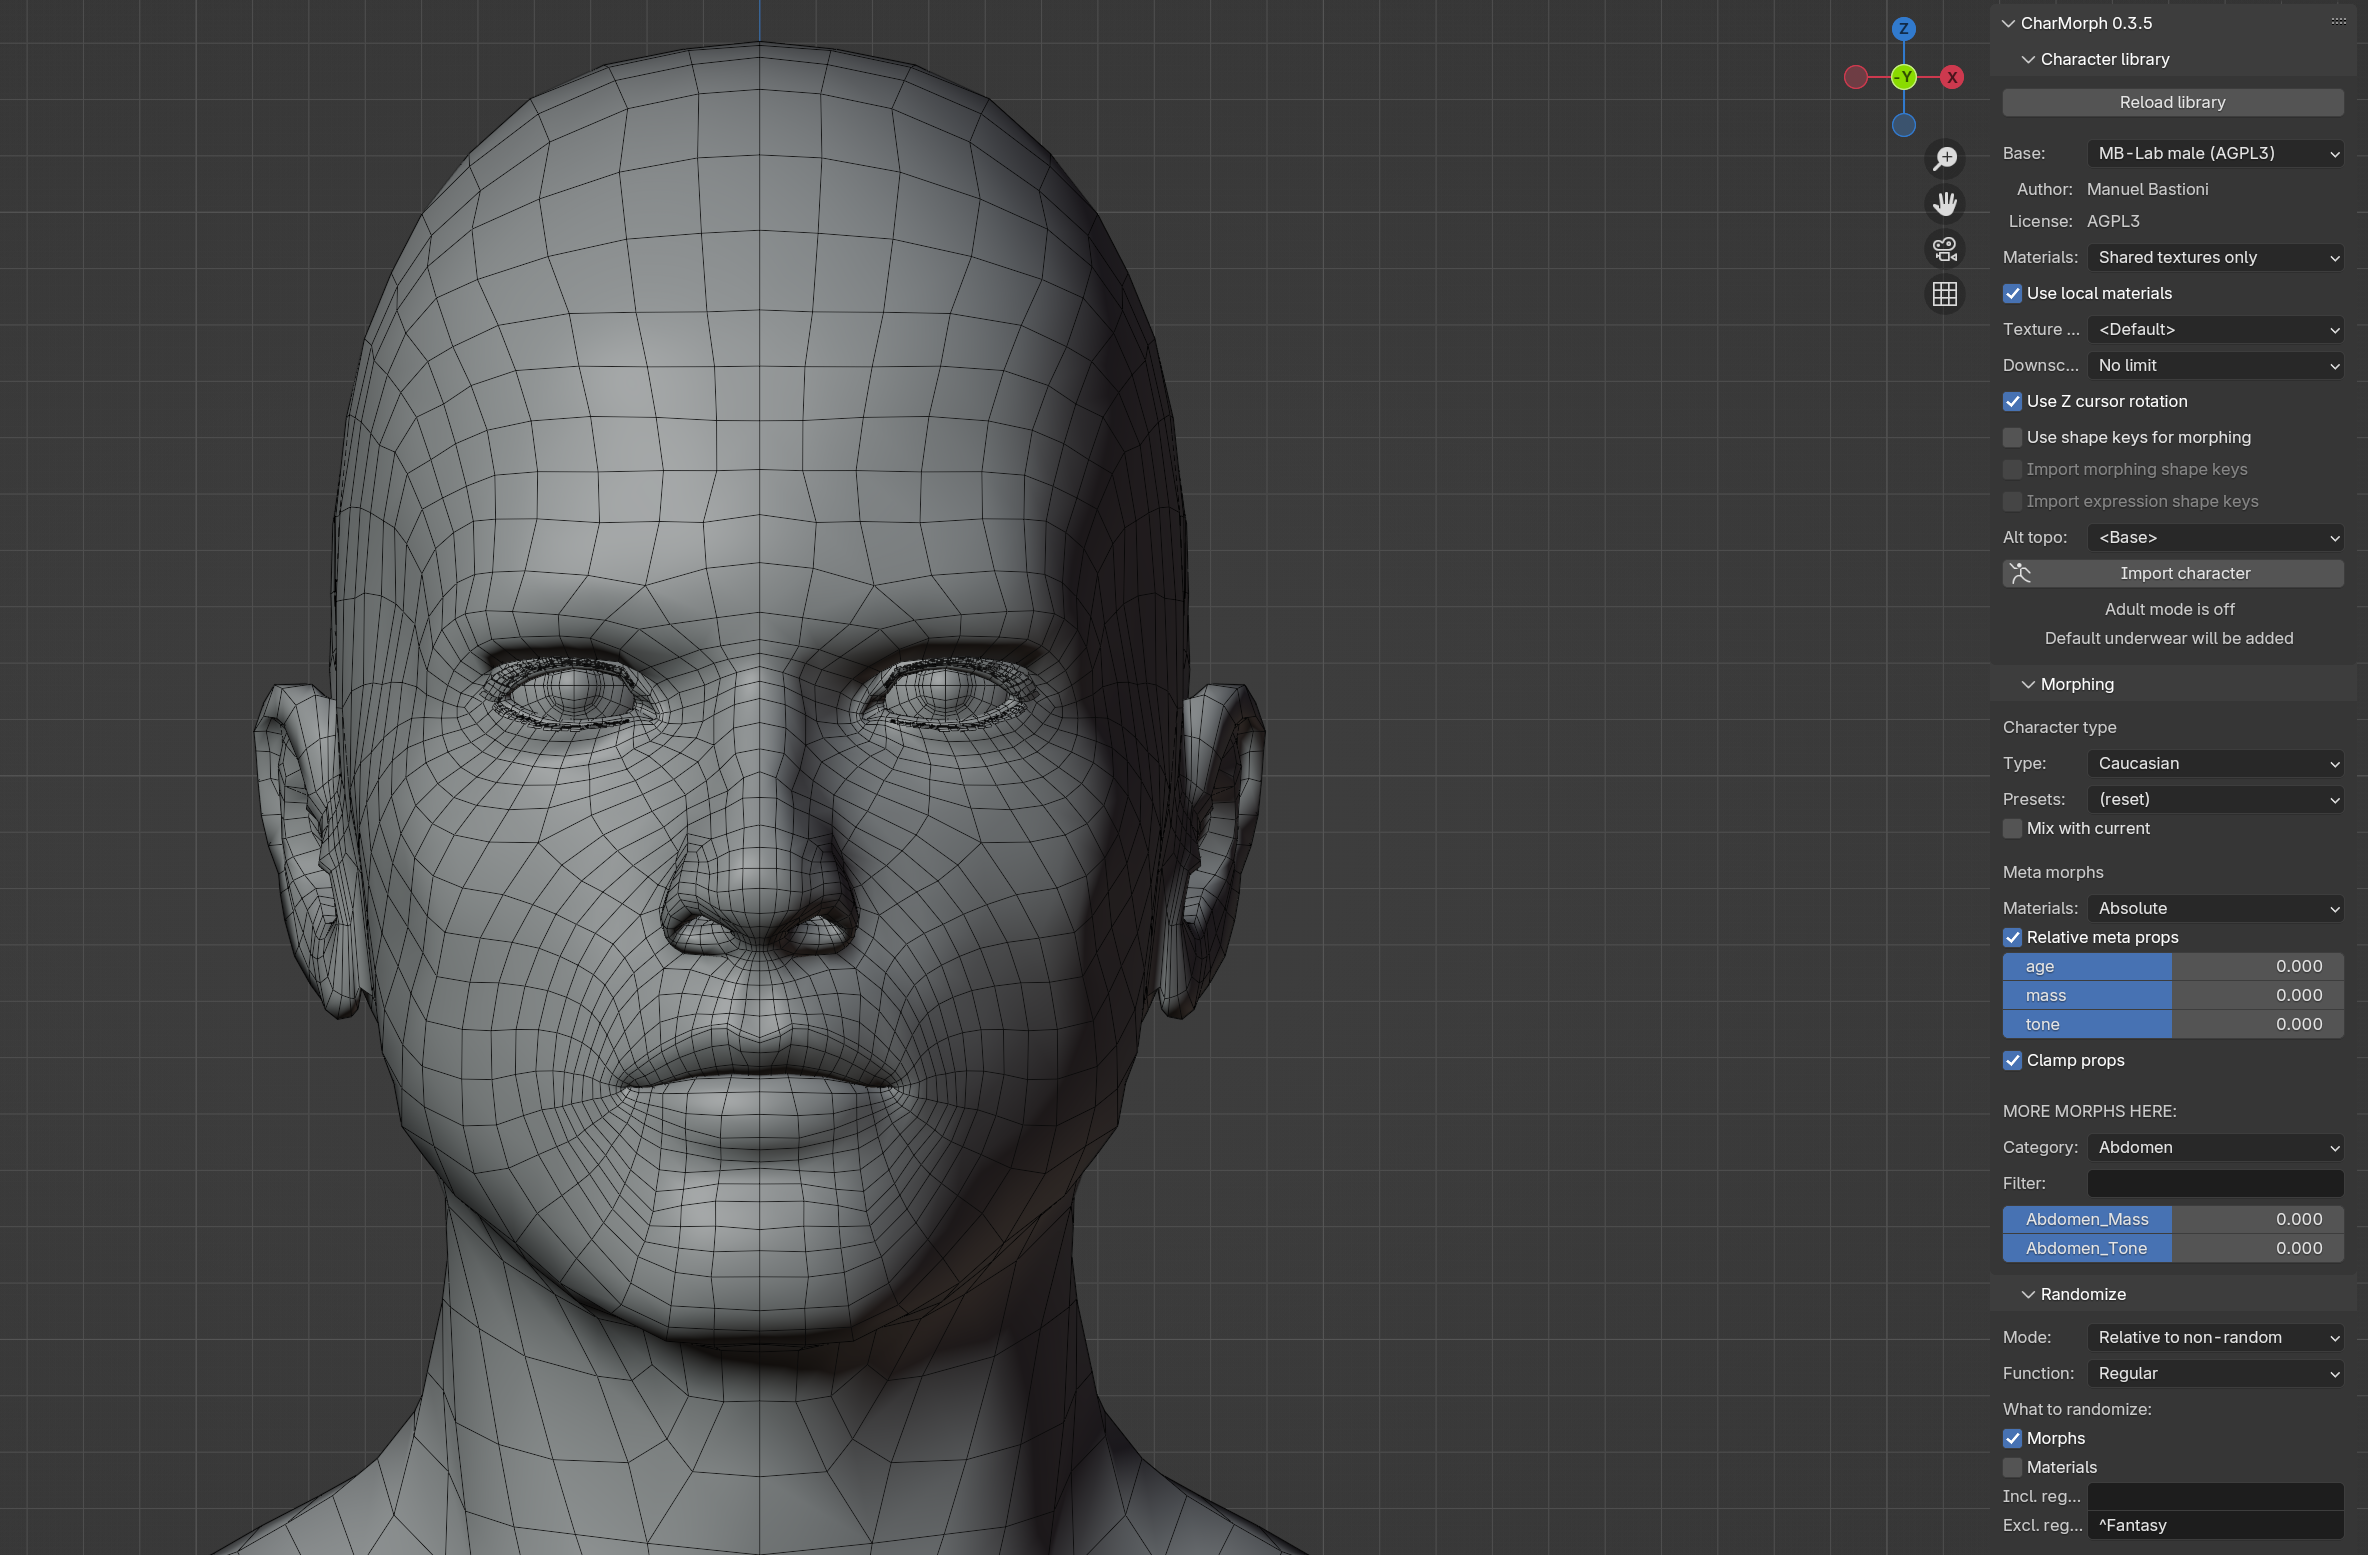
Default Topology:
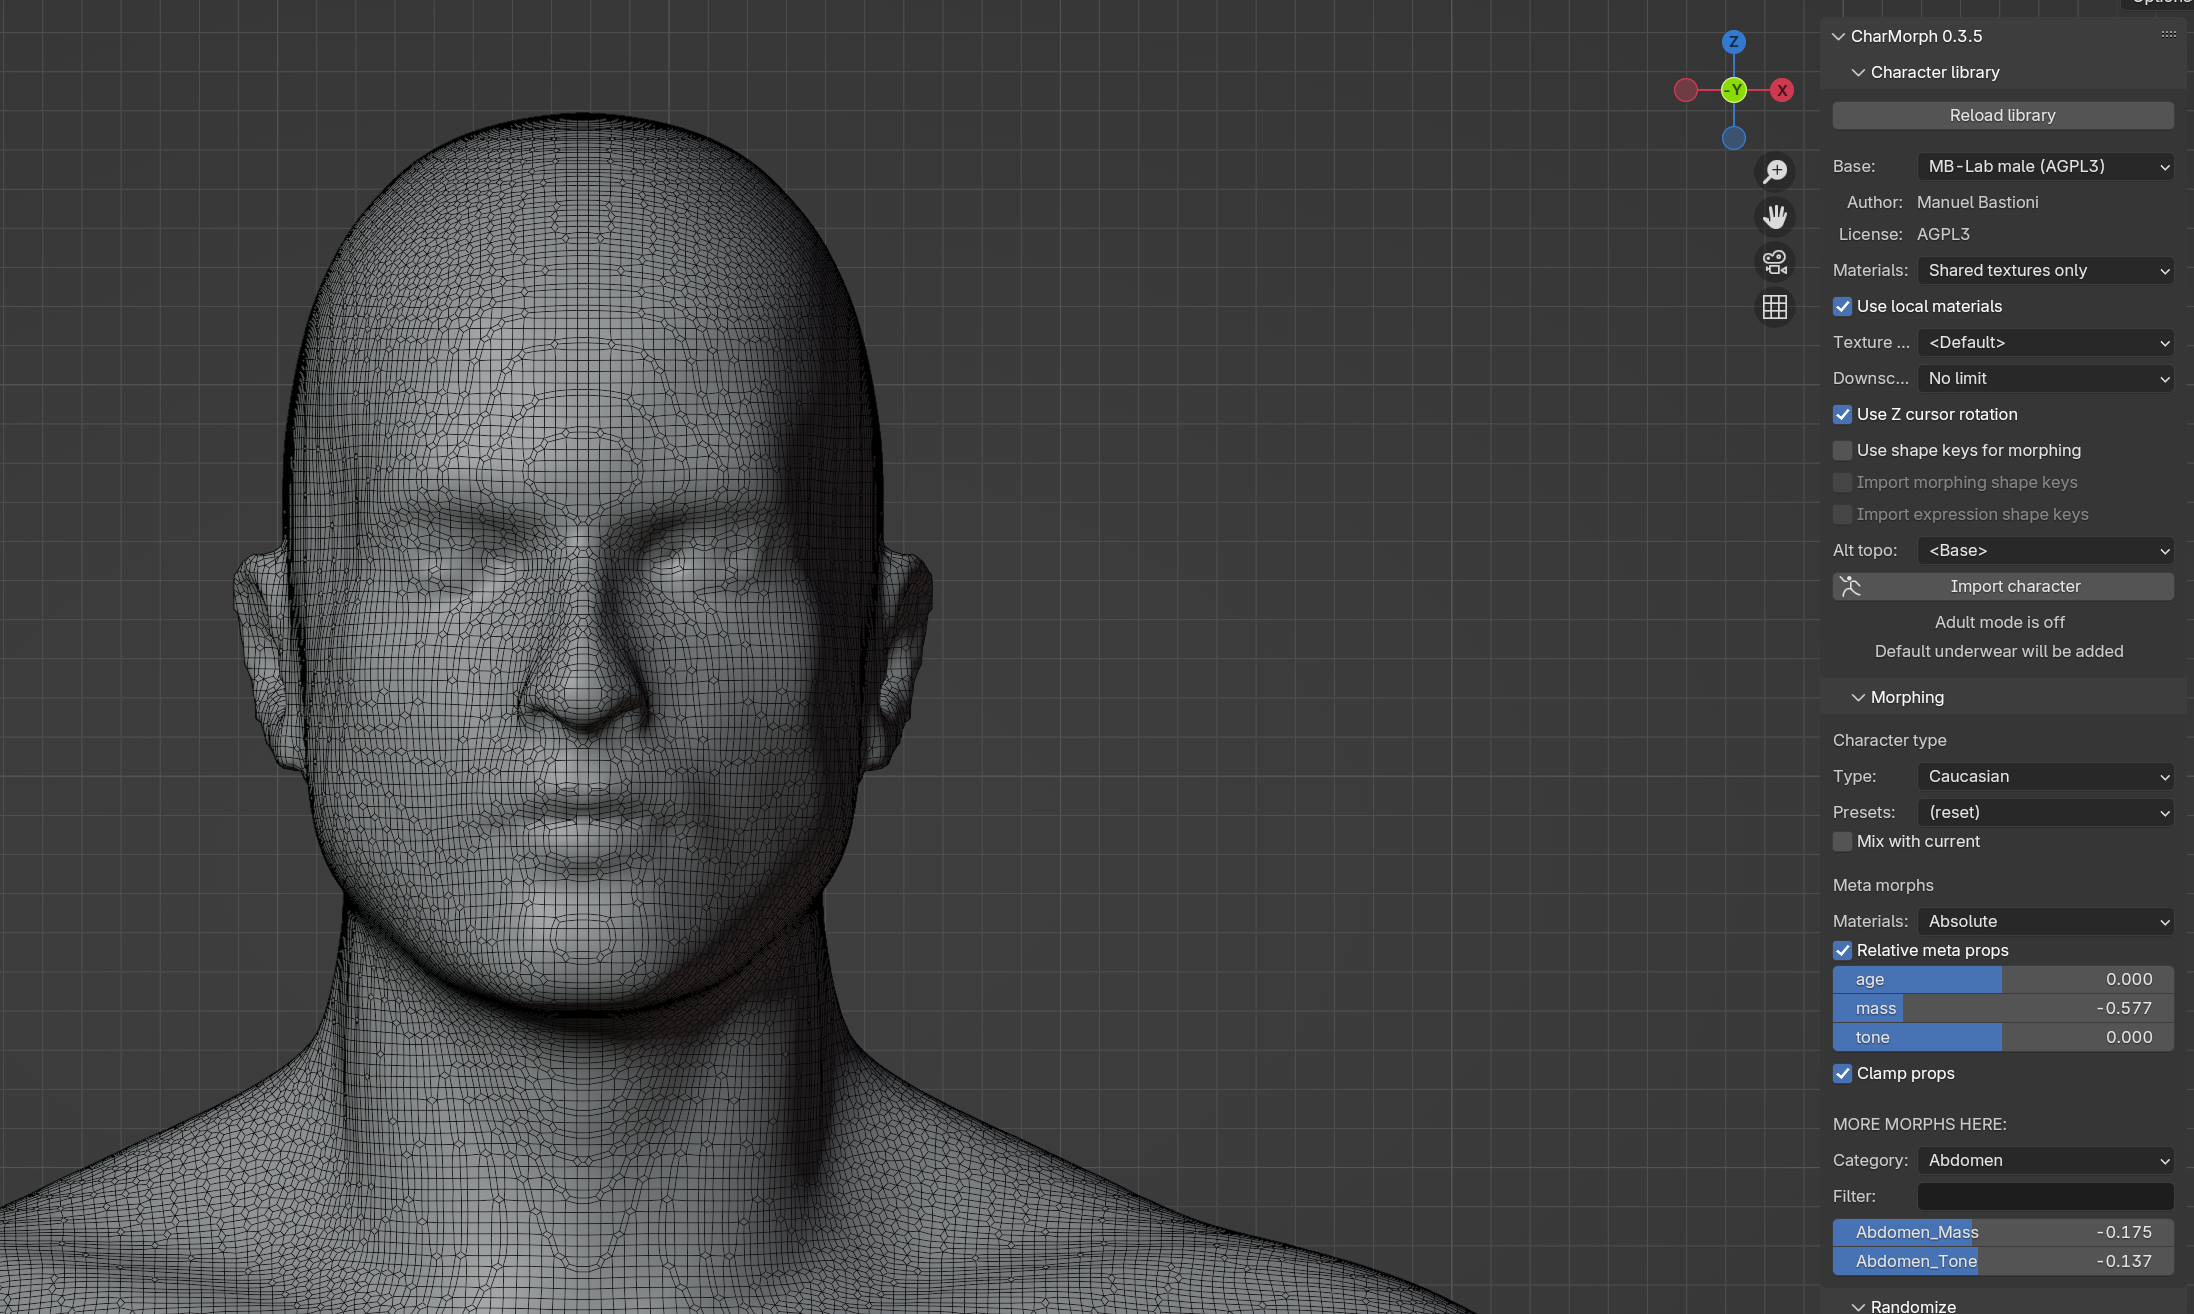
Voxel Remesh Alt Topo:
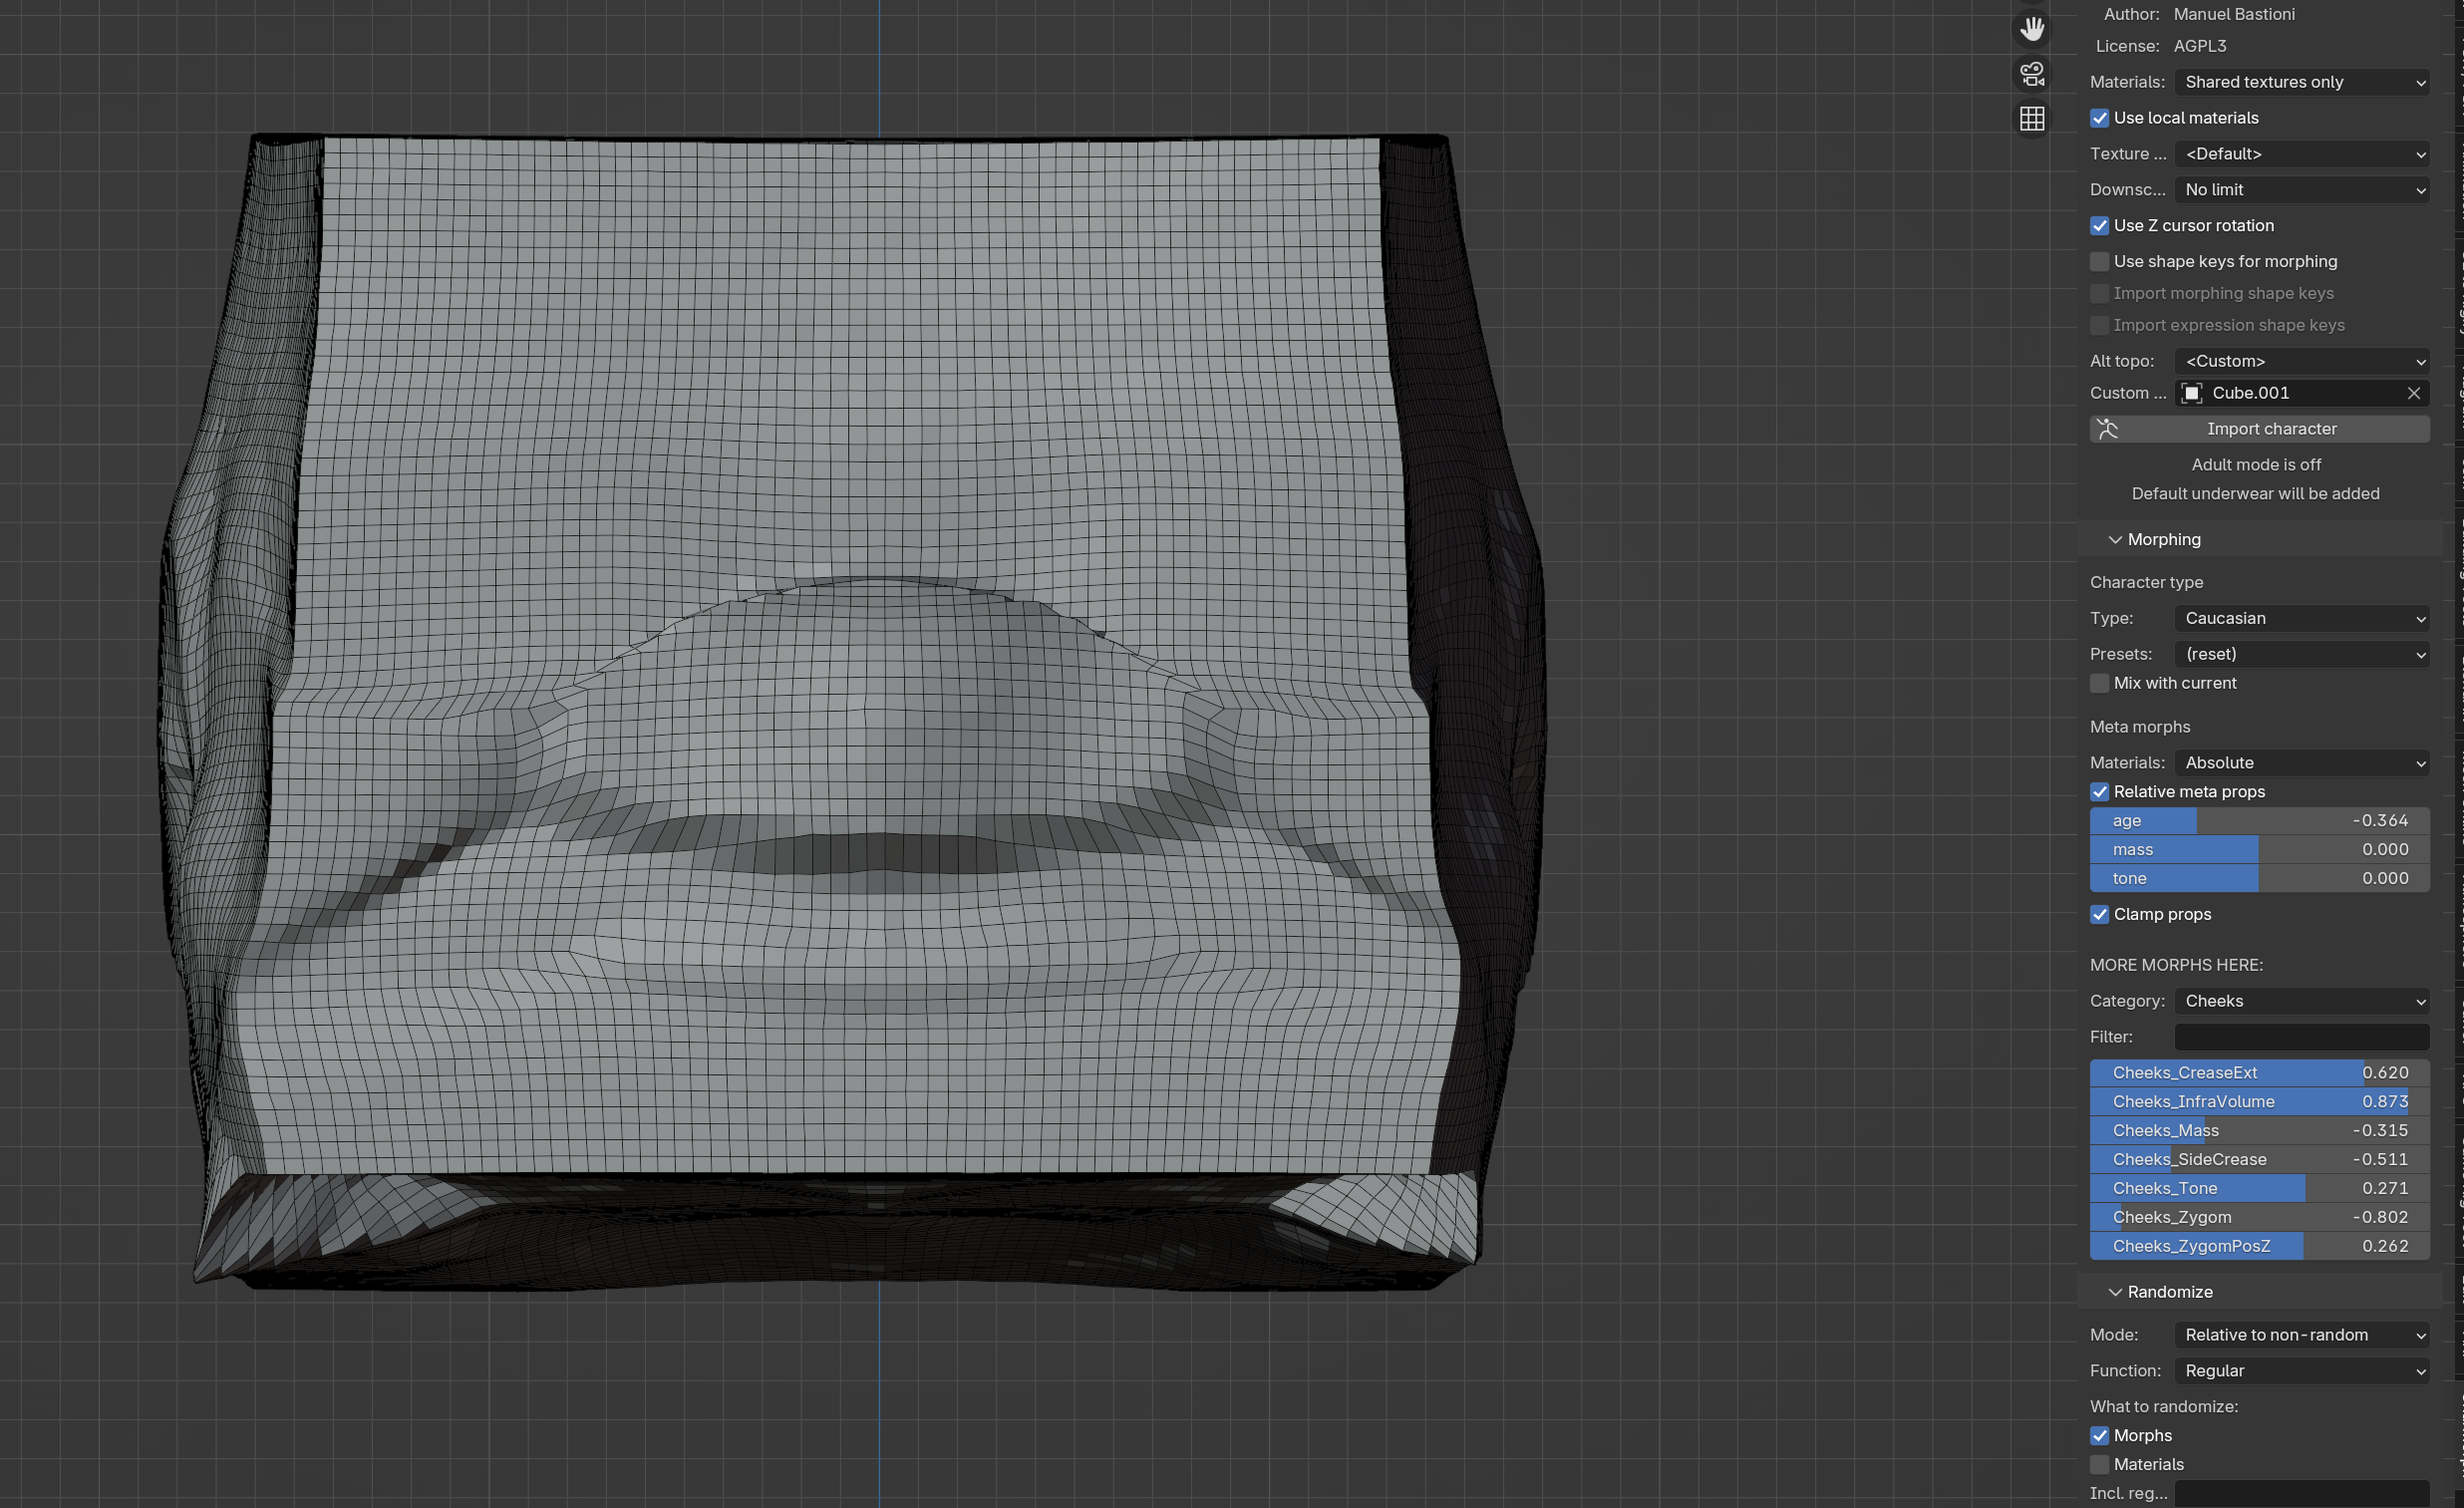
Default Cube Alt Topo:
Using Alt-Topo
You might have been introduced to Alt Topology by applying Topology altering modifiers to a Charmorph generated mesh. And saw this notice
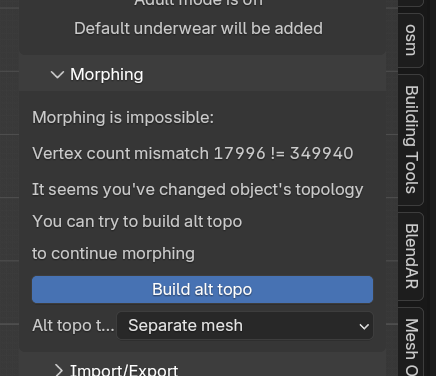
Selecting Build Alt Topo will retarget the modified topology to work with charmorph’s systems.
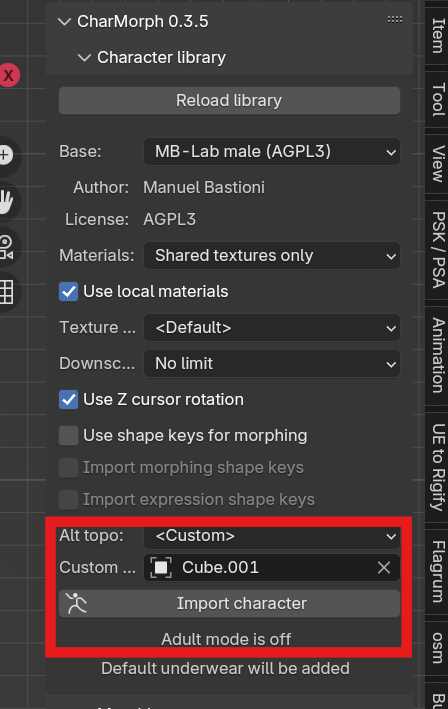
However, it is better practice to import a character with the Custom Alt Topo option before importing the mesh, because it copies the mesh used as a reference rather than overwriting it.
